Simple, Fragrant, Crispy Fried Garlic & Garlic Oil

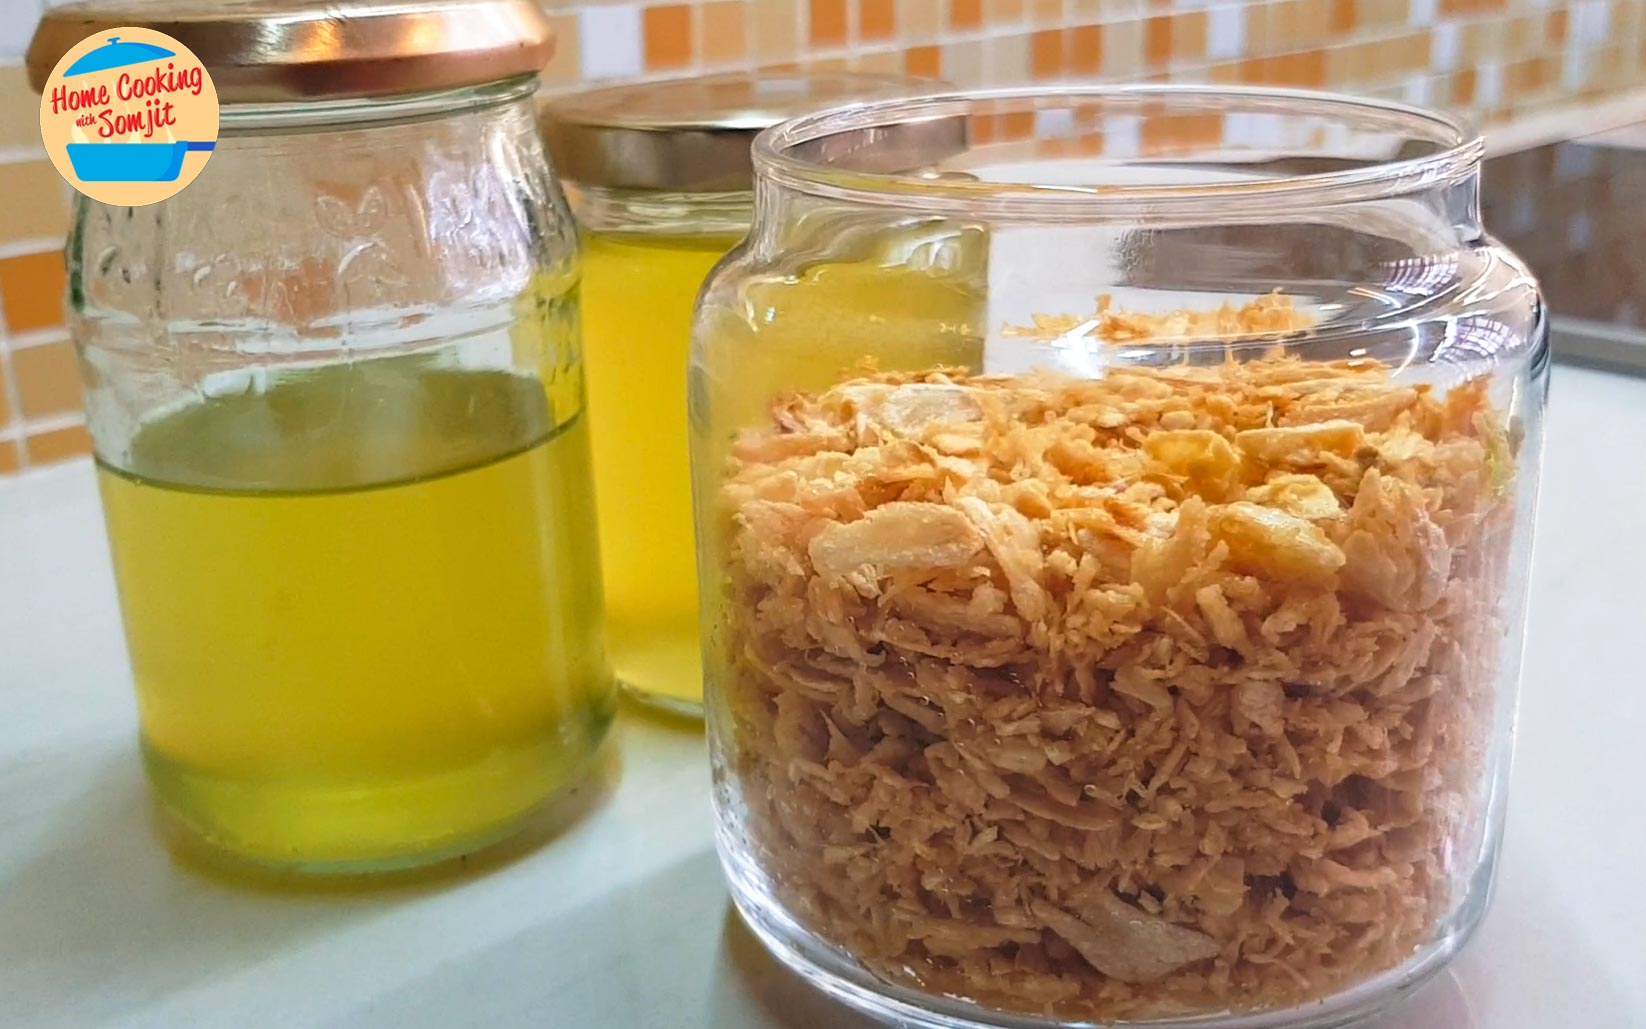
Fried Garlic and Garlic Oil are perfect condiments for noodles and garnishes for fried rice. My household almost always has these crispy garlic bits on hand as they are fragrant and gives a nice bite that is slightly sweet from the caramelization process. Making these also guarantees a generous amount of garlic oil, which gives a heavenly fragrance when mixed with many subtlely flavoured soups. One spoonful of each is able to elevate the dish to the next level.
Crispy Fried Garlic & Garlic Oil Recipe
Ingredients
The ingredients are very simple: lots of fresh garlic and odourless cooking oil. By deep-frying the fresh garlic, its essence will infuse cohesively with the oil. You want to use odourless cooking oil such as canola, sunflower, safflower or corn oil as scented oils may result in clashing aromas with garlic.

I’ve used four fresh large garlic bulbs, and 400g of canola and sunflower blended cooking oil. Let’s get started!
Preparing the Garlic
Peel and mince the garlic into smaller bits. To make the process slightly easier, I place the whole garlic bulb into a mortar. Then, smash each clove individually, just enough to cause tearing in the skin, but not enough to fully break the cloves.

Alternatively, this can also be done by manually removing and gently pressing each clove with the blade of the knife against a chopping board.

You don’t want to break the cloves into pieces because it will be easier to remove the skin while the garlic clove is still intact.
While I proceeded to the next step, the peeled garlic cloves can be first washed if preferred. However, if they are washed, you want to ensure that they are thoroughly dried because the smallest drop of water will cause a massive oil splash when frying the garlic later on.
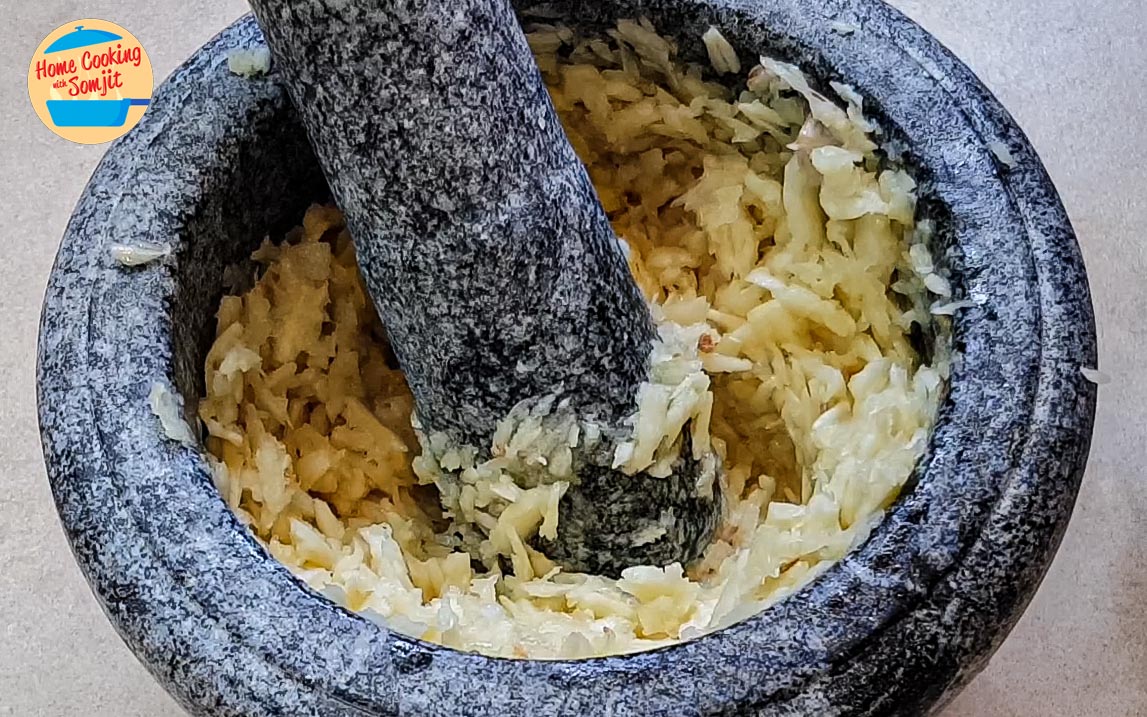
Next, put all the garlic cloves into the cleaned mortar and pound them to the desired size. I would suggest pounding until the garlic resembles minced garlic. Alternatively, the garlic can also be minced with a sharp knife and chopping board. You want them to be small enough as a topping, but large enough that a little bit of tang is present when biting the fried garlic.

Frying the Garlic
Pre-heat a stainless steel pan with the desired amount of oil for garlic oil over medium heat. After a few minutes, dip clean, dry wooden chopsticks into the oil to test it. If there are bubbles forming and rapidly escaping to the surface of the oil, then it is ready for frying.
Carefully add all the pounded, or minced, garlic pieces into the oil. The odourless cooking oil will immediately bubble and foam at contact with the raw garlic. Please be careful as if there is any moisture present, a massive oil splash will occur.

Continuously stir for the fried garlic to cook evenly. Depending on the amount of oil and garlic bits, this can take anywhere from 8 to 10 minutes. While it is cooking, the garlic will release its aroma, and is turning crispy.
Once all the bubbles have stopped forming, and the smallest of the garlic bits is changing colour to golden yellow, remove them from the pan. Don’t wait until the garlic is already golden yellow, as it will continue cooking with its residual heat once out of the pan.

If the garlic is removed when it is golden brown, it may turn to a darker colour by the time it cools down completely. Prepare a large strainer and place it over a heat-proof bowl. The bowl needs to be big enough to accommodate all of the cooking oil.
Cooling Fried Garlic & Garlic Oil
Switch off the heat. Steadily and carefully pour out the contents of the pan into the prepared strainer and bowl. This is to remove all the garlic bits from the cooking oil as we will cool them down separately.

Prepare a fine wire rack, or place an oil splash guard over a wide tray so that there is an air gap between the tray and the splash guard’s netting. Then, spread the fried garlic bits over the netting evenly. Using netting instead of oil absorbent paper has 2 benefits.
The first is that the excess oil from the fried garlic will drip to the tray beneath. This allows the fried garlic to be completely dry as it cools down, preserving the garlic’s crispiness. Oil absorbent paper tends to trap the oil on its surface. As the fried garlic cools, it tends to absorb the surrounding oil, resulting in soft and oily garlic bits. This is also the reason why we cool both the garlic bits and garlic oil separately.
Secondly, the oil splash netting also allows the air to flow all around the garlic, especially at the bottom. This results in a faster cooling down rate and minimizes the chances of condensation at the surface of the cooling area. This then leads to crispy garlic, as opposed to soggy bits.

After 2 hours at room temperature, the crispy fried garlic and garlic oil have both cooled and are ready to be used!
The crispy garlic bits and garlic oil can be stored separately in air-tight containers at room temperatures. The fried garlic will stay crispy for 7-10 days, while the garlic oil can last for up to 2 – 3 weeks. It is not recommended to store the garlic bits in the fridge as the cool air may introduce condensation in the air-tight containers, turning the fried garlic soggy.

They go so well with Egg Noodle Soup, or as garnishings for fried rice, stir-fry vegetables, or even as toppings for Choy Sum with Oyster Sauce. The fried garlic elevates the food in terms of texture for that extra crunch, while the garlic oil gives off a lovely caramelized garlic fragrance in the soups.
Enjoy!

Crispy Fried Garlic & Garlic Oil
Equipment
- Oil Splash Guard
- Pestle & Mortar
- Wok
- Mini-strainer
- Strainer
- Mason Jars
Ingredients
- 4 bulbs garlic, large
- 400 g cooking oil, odourless
Instructions
- Peel the skin from garlic. Use a pestle and mortar to smash the garlic to make it easier to remove the garlic.
- Add in all the oil in the pan.
- Heat the oil over medium heat for 4 minutes.
- Pound the peeled garlic into smaller pieces.
- Carefully add in all the garlic into the hot oil.
- Continuously stir the garlic in the oil until the garlic has changed colour and the bubbles have lessened.
- Strain the garlic and collect the oil with a heat-proof bowl.
- Spread the garlic pieces over a netting surface to cool down.
- Strain the garlic oil again and allow it to cool down.
- Store the garlic pieces in a clean air tight container.
- Store the garlic oil in a separate, clean, airtight container.
Video
Notes
- Any preferred method works – blending, mincing with a knife, using a mandoline. Do use a method that you are comfortable with.
- The crispy fried garlic can last up to 7-10 days in a clean, airtight container at room temperature. It’s not recommended to store in the fridge as the crispiness will be lost.
- The garlic oil can last up to 2-3 weeks in a clean, airtight container at room temperature.
- These ingredients are amazing as condiments to noodles and rice, or as additional flavourings in stir-frys. The sky is the limit!